Table of Contents
参考: https://blog.csdn.net/qunfang960871/article/details/144906063
混元 video 本地部署
conda 切换到 hunyuan 环境 (conda安装: /posts/conda-新建切换-虚拟环境)
conda activate HunyuanVideo安装 pip3 install -r .\requirements.txt -i https://pypi.tuna.tsinghua.edu.cn/simple
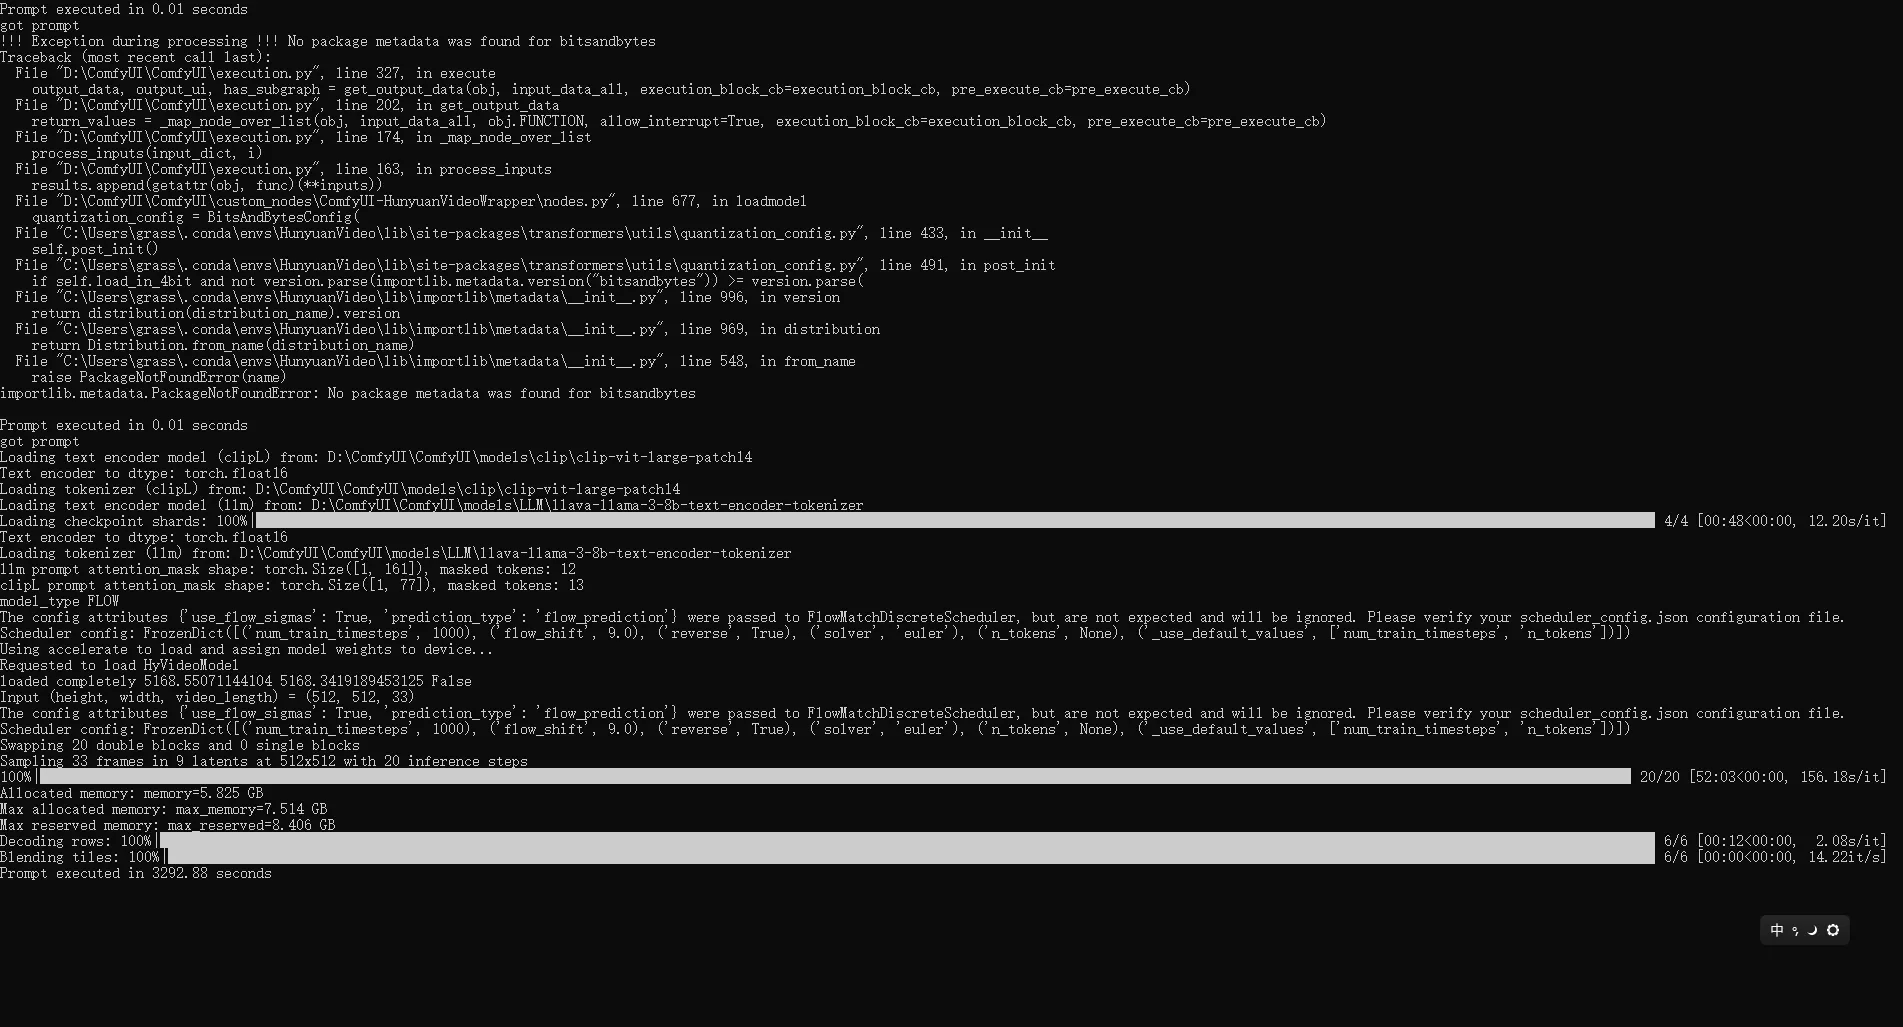
在 custom_nodes 目录下分别安装依赖 git clone https://github.com/kijai/ComfyUI-HunyuanVideoWrapper.git git clone https://github.com/Kosinkadink/ComfyUI-VideoHelperSuite.git
下载视频模型的fp8量化版本: https://www.modelscope.cn/models/Kijai/HunyuanVideo_comfy/files
模型名称分别是:hunyuan_video_720_cfgdistill_fp8_e4m3fn.safetensors 和 hunyuan_video_vae_bf16.safetensors
删除CPU版本 torch 重新下载对应 whl https://blog.csdn.net/m0_74890428/article/details/130184164
混元 3D 本地部署
模型仓库 https://huggingface.co/Kijai/Hunyuan3D-2_safetensors/tree/main
下载指定版本的 pytorch https://download.pytorch.org/whl/torch_stable.html cu 为cuda版本 cp为python 版本号
cu102/torch-1.7.1-cp38-cp38-linux_x86_64.whl
cu102:表示cuda版本为10
.2,
torch-1.7.1:表示torch版本为1
.7.1
cp38:表示适用python版本为3
.8
linux:表示适用于linux系统
x86_64:表示同时兼容32和64位系统
、
选择了
cu121/torch-2.3.1%2Bcu121-cp310-cp310-win_amd64.whl
该版本进行下载
根据 目录下的 需要重建为 py 3.12 + cuda 126 环境 https://developer.nvidia.com/cuda-12-6-3-download-archive?target_os=Windows&target_arch=x86_64&target_version=10&target_type=exe_local
创建新的 conda 环境
conda create -n Hunyuan3D python==3.12D:\ComfyUI\ComfyUI\custom_nodes\ComfyUI-Hunyuan3DWrapper>
pip3 install -r .\requirements.txt -i https://pypi.tuna.tsinghua.edu.cn/simple
pip install .\wheels\custom_rasterizer-0.1.0+torch260.cuda126-cp312-cp312-win_amd64.whl